6 steps in this guide:
In a Tweet I shared my experience in experimenting with Advanced Customer Fields and the new Gutenberg editor released with WordPress 5.0. People seemed interested in it enough that I’ve decided to document my process in this blog post. Hopefully it will help others looking to do the same.
Let’s look at the process of creating a custom hero block.
Registering your block
Just as you would register a custom post type, the acf_register_block_type() function allows you to register a custom block with Gutenberg. The ACF documentation is a detailed guide on how to use the acf_register_block_type() function. This guide will get you through the steps, but I recommend looking the docs over.
// Register Custom Blocks
add_action('acf/init', 'my_register_blocks');
function my_register_blocks() {

	// check function exists.
	if( function_exists('acf_register_block_type') ) {

			// register a testimonial block.
			acf_register_block_type(array(
					'name'				=> 'hero',
					'title'				=> __( 'Hero'),
					'description'		=> __( 'A custom hero block.'),
					'render_template'   => 'template-parts/blocks/hero.php',
					'category'			=> 'common',
					'icon'				=> 'align-center',
					'keywords'			=> array( 'hero', 'banner' ),
					'enqueue_style' => get_template_directory_uri() . '/dist/css/blocks/hero.min.css',
			));
	}
}
A note on enqueuing block CSS and JS:
When you enqueue your CSS and JS within the acf_register_block_type() function, your assets are only loaded when your block is present on a page. And those assets get enqueued both on the front-end and the back-end. If you view your block from the editor with preview mode, you may notice areas where you’ll need to write extra CSS scoped specifically for preview mode in the editor. This is because the Gutenberg editor itself enqueues default styling that may affect your block in an unintended way.
The enqueue_style above reflects the ACF documentation in that the CSS is being enqueued from the same directory as the block template itself.
This isn’t how I do it in my themes though. I have all of my theme and block SCSS in a /src directory and that SCSS gets compiled to CSS and minified in a /dist directory. SCSS files for blocks live in /src/scss/blocks/block_name.scss. That means I’ll enqueue my block CSS like so:
'enqueue_style' => get_template_directory_uri() . '/dist/css/blocks/block_name.min.css'Creating the hero ACF fields
Let’s create our hero fields within ACF.
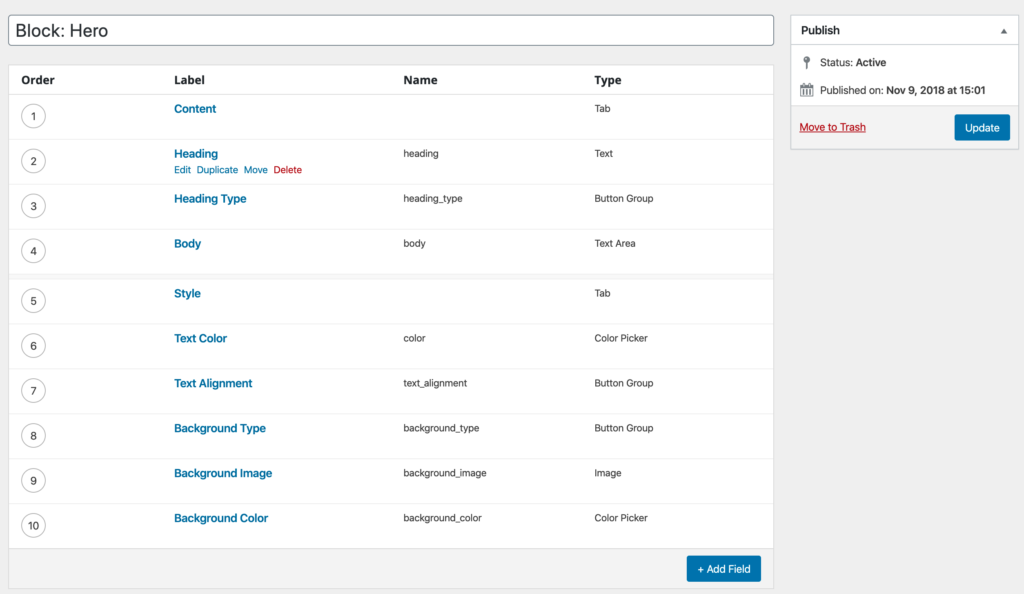
Note: I like prefixing my block field groups with Block: so that they’re easily distinguished between block controls and custom fields for post types.
I organized my fields under two tabs: Content and Style.
Under Content we have the following fields:
- heading
- heading type (H1, H2, etc)
- body
Under Style we have:
- text color
- text alignment
- background type
- background image
- background color
Based on the selected Background Type there’s conditional logic to display either the Background Image or the Background Color fields.
If you’d like, you can use this ACF fields json export for the exact fields I used in this example: https://gist.github.com/joseph-farruggio/d2563e51072c669596e5c0a939692ad3
Hero template markup
Next, let’s build out the hero template markup.
<?php
/**
 * Block Name: Hero
 *
 * This is the template that displays a hero banner.
 */

if ( get_field('background_type') == "color" ) {
  $background_style = "background-color: " . get_field('background_color') . ';';
} else {
  $image = get_field('background_image');
  $background_style = "background: url(" . $image['url'] . ') center center no-repeat; background-size: cover;';
}

$text_color = get_field('text_color');
$text_align_class = get_field('text_alignment ');
$id = 'hero-' . $block['id'];
$align_class = $block['align'] ? 'align' . $block['align'] : '';
$hero_classes = array($align_class, $text_color, $text_align_class);
$heading_type = get_field('heading_type');

?>

 <div
  class="hero <?php echo implode(" ", $hero_classes); ?>"
  id="<?php echo $id; ?>"
  style="<?php echo $background_style; ?>">
    <div class="container">

      <?php if($heading_type == "h1"): ?>
        <h1 class="heading"><?php the_field('heading'); ?></h1>
      <?php elseif($heading_type == "h2"): ?>
        <h2 class="heading"><?php the_field('heading'); ?></h2>
      <?php endif; ?>

      <p><?php the_field('body'); ?></p>
    </div>
 </div>
At this point, if we were to add the hero to our post, we should see this (excluding CSS, since that’s up to you):
Styling your hero block
In your CSS you should create a few utility classes. Or if you’re using a CSS framework like tailwindcss.com, then you should make the values of your block’s style related fields match the classes you already have. Your text color, background color or background image will be inline styles.
For example:
.text-left {
  text-align: left;
}

.text-center {
  text-align: center;
}

.text-right {
  text-align: right;
}

// Gutenberg specific block alignment
.alignfull {
  width: 100vw;
  position: relative;
  left: 50%;
  right: 50%;
  margin-left: -50vw;
  margin-right: -50vw;
}

.alignwide {
  width: 80vw;
  position: relative;
  left: 50%;
  right: 50%;
  margin-left: -40vw;
  margin-right: -40vw;
}
Using the hero block
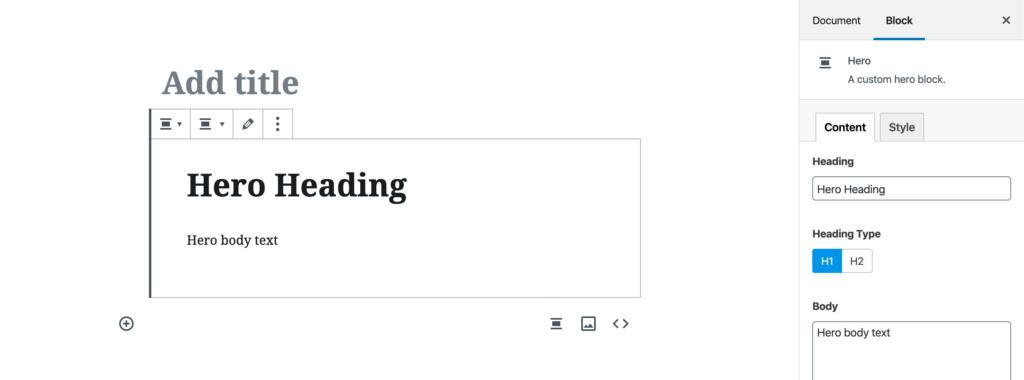
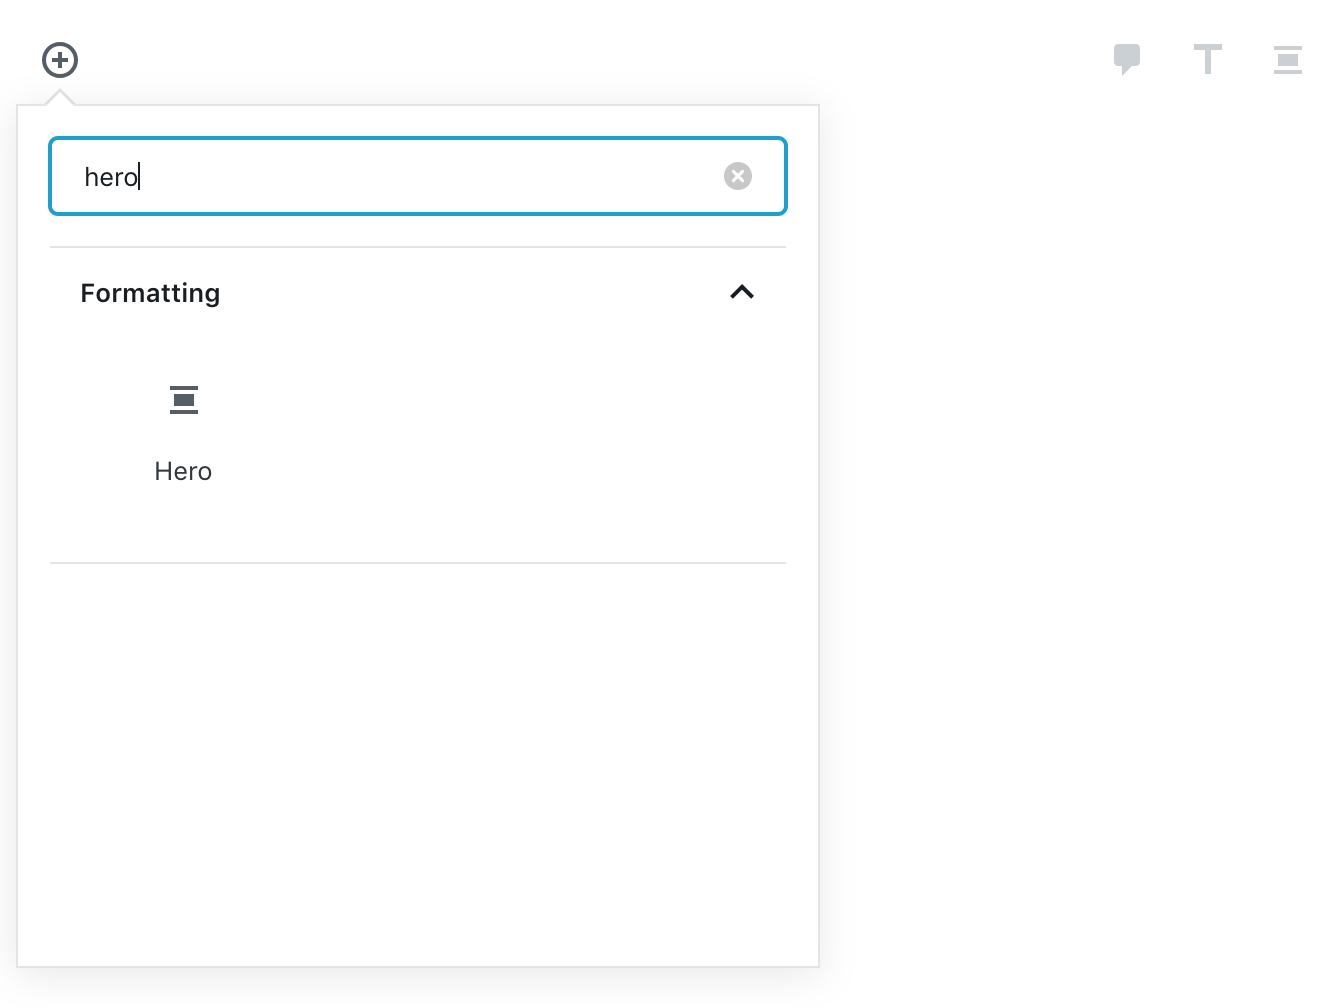
From the Gutenberg editor, I’ll add in my new hero.
From the start, here’s what we get:
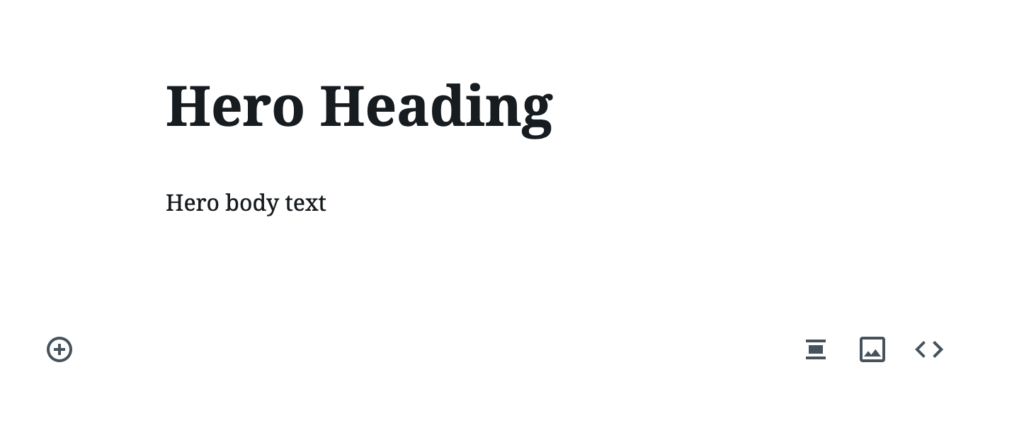
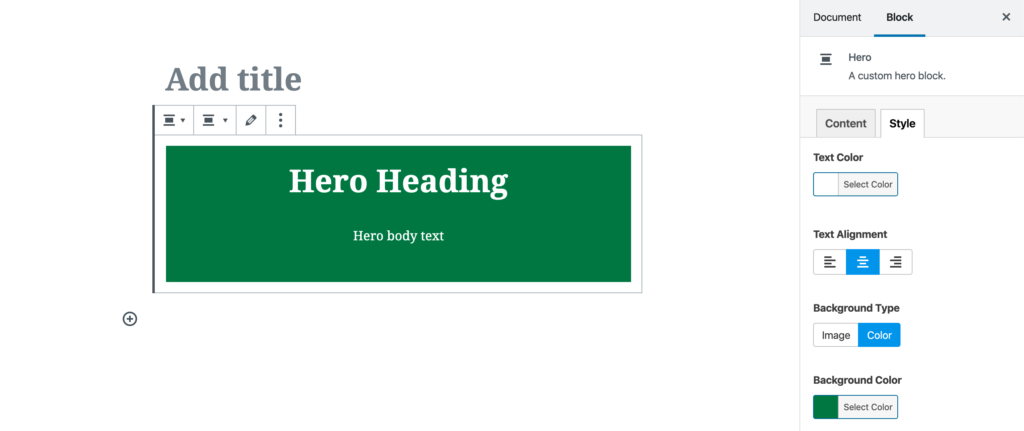
Nothing too exciting, but let’s add some color:
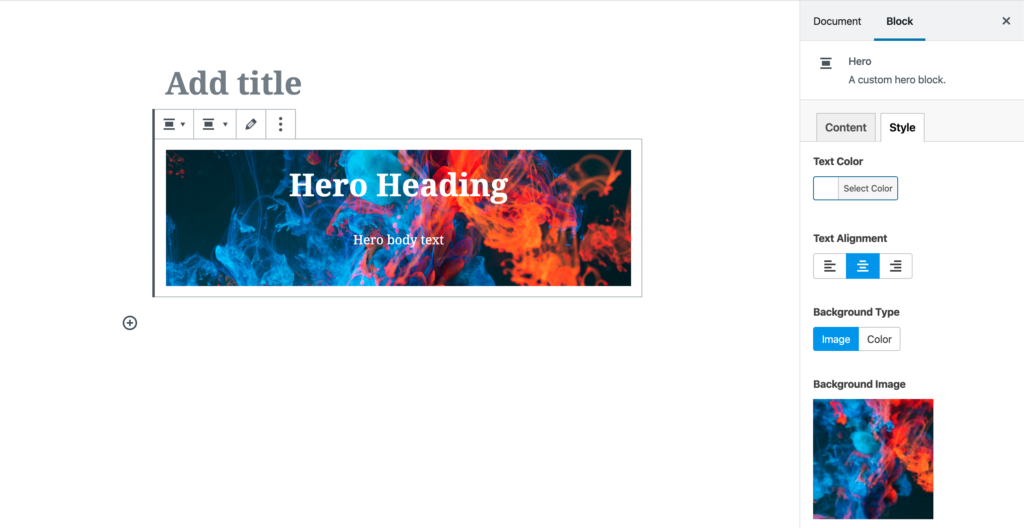
Now let’s try a background image:
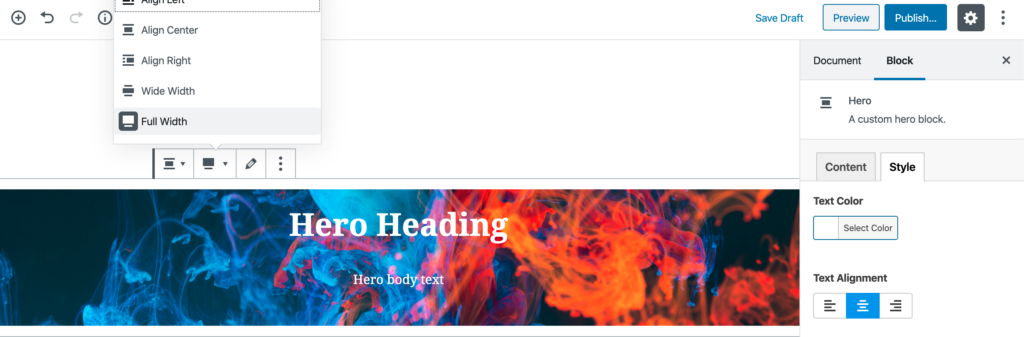
Setting the size of our hero
Gutenberg comes with some built in sizing capabilities. We have “wide width” and “full width”. Here’s what a full width hero looks like:
Closing thoughts
All in all, I’m really happy with my initial experience with Gutenberg. I think it will be a welcomed change for most users spending time in the editor. I’m especially excited to see what some of my clients do with the blocks that I provide them in their web projects.